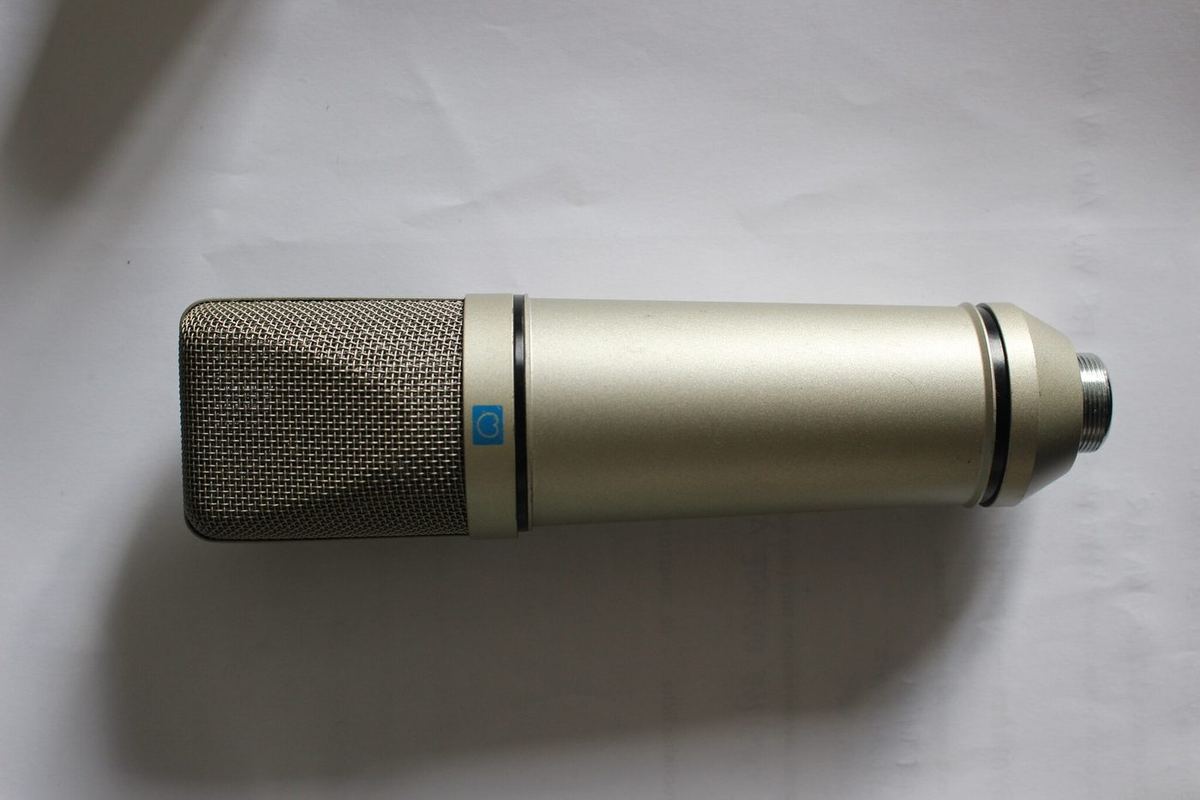
A studio microphone you can open, understand and repair.
The Talas One is a large-diaphragm condenser microphone. Its dual-diaphragm capsule comes out on two separate channels, its electronics fit on two boards, and every plan is published. The prototype works: have a listen.
In June 2026, the P1 and a RØDE NT1-A recorded the same source at the same moment, in an untreated room: pink noise played through a loudspeaker. Levels were matched afterwards, to within 0.3 dB.
0:00
Switch between A and B while it plays: the position is kept. The difference is easier to hear on headphones.
Pink noise — Talas One P1Pink noise — RØDE NT1-A
What you hear
The P1 sounds warmer and darker than the NT1-A: the low mids are more present, the highs above 10 kHz softer. The measurements say the same thing, by four different methods. It is a matter of character, not of ranking.
No music here: a pair of music excerpts used to exist, but the music played through the loudspeaker was someone else’s, so it was withdrawn. Next recordings: voices and instruments, captured with the P3.
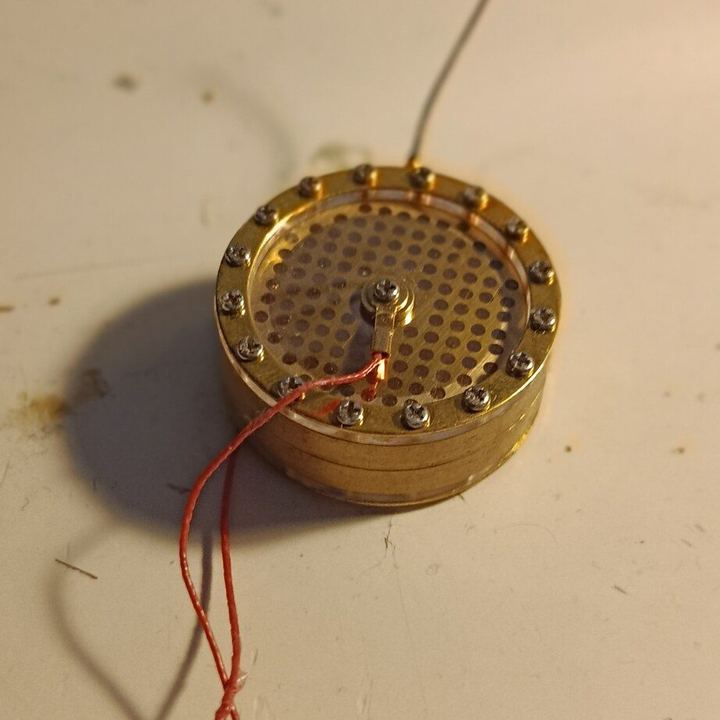
The capsule carries two diaphragms, each with its own balanced output. You record both on two tracks, then choose how to blend them at the mix instead of freezing that choice at the take.
The aim: set the polar pattern after the fact. That is what the P3 has to demonstrate with its two channels; only one works on the P1.
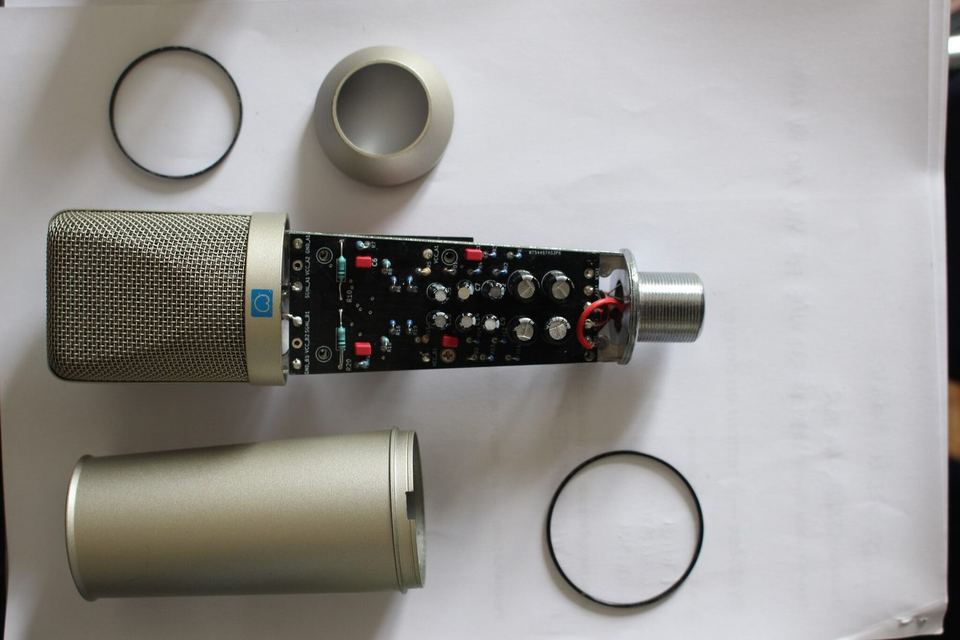
The P1 taken apart: grille, tube, rings and electronics.
Two boards, a body that opens
The preamp (OPA1642) and the capsule supply sit on two separate boards: you can replace one without touching the other. The body comes apart into a few pieces and leaves the electronics within reach.
Every P3 component has its supplier part number in the bill of materials, and a troubleshooting guide comes with the plans.
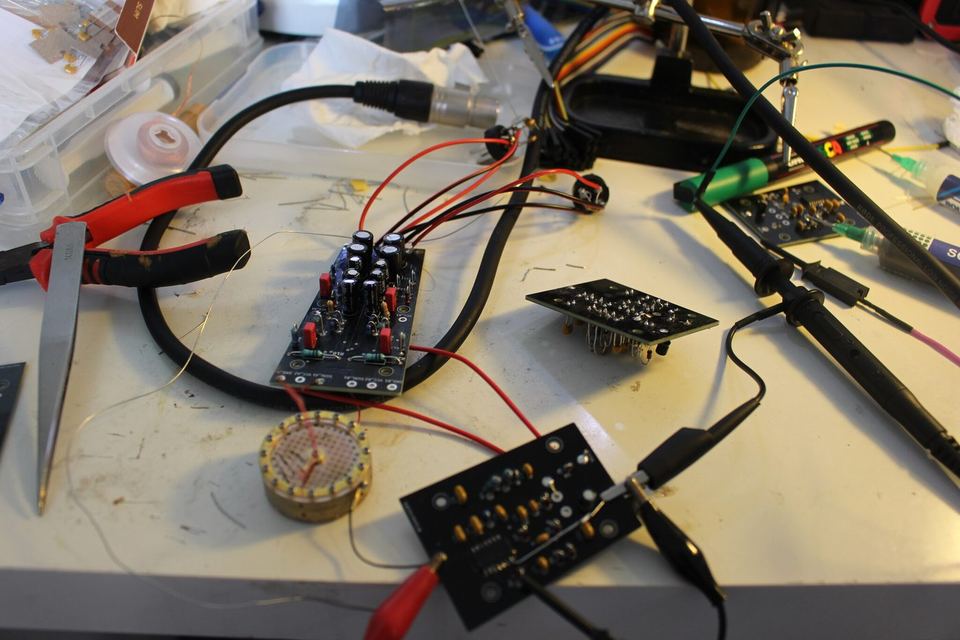
The bench during the P1 tests.
Everything is open, down to the test bench
KiCad schematics and boards, P3 Gerbers, bills of materials, simulations and assembly guides are published. Hardware under CERN-OHL-W-2.0, documentation and photos under CC BY-SA 4.0. The preamp builds on an AliceOPA topology.
The measurements come from mic-test-bench, a free bench you can run on your own microphones, or try without any hardware using a synthetic campaign.
Using it
What you need to use it
Audio interface
Two microphone inputs with 48 V phantom power, one per channel. A single input is enough to record one channel.
Cable
A Y cable, 5-pin XLR to two 3-pin XLRs: the microphone comes out on a 5-pin XLR, which interfaces do not have.
Power
The interface’s 48 V phantom power. Nothing else to plug in.
To build it
€69 to €76 of parts at unit prices, €21 of it electronics, plus the Y cable, soldering gear and some experience with electronics. Assembly guide.
What a microphone sold one day would include, cable and accessories among them, will be settled with the first series.
Progress
Where the project stands
As of .
P1 prototype measured
Assembled in April, corrected by hand, measured in June against an NT1-A on its channel B.
Sensitivity comparable to the NT1-A’s
A warmer, darker signature
Clean phase, no clipping up to −1 dBFS
A distortion residue around 500 Hz, still being tracked down
P3 revision ordered
Every P1 correction is built into the sources.
DRC and ERC at zero on both boards
Schematics and boards identical, netlists compared
Simulated in ngspice
Boards ordered on 4 October, five of each
Next step
Assemble the P3 planned
Receive the boards, assemble them, validate both channels, then record voices and instruments.
To measure next: self-noise, absolute response, maximum SPL, polar pattern
An email when a milestone is reached: the P3 built, the first voice recordings, the opening of a possible first series.
Nothing is on sale today, and signing up commits you to nothing.
Target price for a possible first series: €150.
The assumptions behind that price
€150 is a target, not an offer: nothing is sold, pre-ordered or paid for today.
The parts for a complete self-built microphone come to €69 to €76 at unit prices, €21 of it electronics and €26 for the capsule; the rest is the boards, the body and the XLR connector. The Y cable is extra. It is a range because no manufacturer has quoted the body yet; the item-by-item table says what is read from an invoice and what is estimated.
A series depends on three things: a P3 built and measured, a dedicated body, a registered workshop. What is in the box, the warranty and the lead times will be settled at that point.